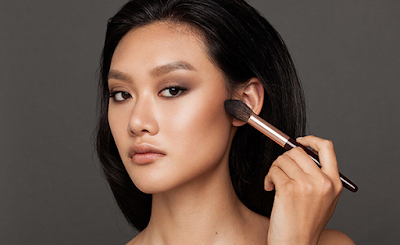
HOW TO HIGHLIGHT?
1. PLACEMENT IS EVERYTHING
Placement is key when it comes to highlighting. The ideal places to highlight are:
Underneath the arch of the brow
The inner corners of your eyes
The bridge of your nose (in the space right between your eyes)
The high points of the cheeks
Your cupid’s bow
The picture above is a great reference as to what are the areas you want to enhance and illuminate.
Much like contouring, you can pretty much use anything to highlight, as long as it is two shades lighter than your natural skin tone. Though if you’re a beginner, it is recommended that you stick to a highlighter that is ‘almost the colour of your skin, with just a hint of shine.’ This allows for easy blendability and gives a more natural effect, as compared to a product with too much glitter, which can make users appear chalky and plain unnatural. Yikes!
Highlighters can be applied on with either your fingers, sponge, or a brush. Cream formulas work best with fingers, while a fan brush works amazingly well with powder formulas.
Feeling a little overwhelmed by the sheer amount of variety out there? Well, you can always check out our list of great highlighters under SGD30 and coloured luminizers to try out!
3. TAP IT ON LIGHTLY, AND BLEND, BLEND, BLEND
It is of utmost importance to blend your highlighter out so as to not appear too OTT. Remember to pop on a hint of blush for that extra finishing touch!
Click here to see part 1:
3. TAP IT ON LIGHTLY, AND BLEND, BLEND, BLEND
Click here to see part 1:


No comments:
Post a Comment